By Akshay Singh
How to Host a Node.js Express App on a VPS Using Apache, PM2, and Systemd
When developing a Node.js application locally, running node server.js is perfectly fine. But when it's time to move to production, that approach falls short. If your application crashes, it won't restart. If the server reboots, your app remains offline. Furthermore, running Node.js directly on port 80 or 443 poses security risks and lacks the advanced routing and caching features of a dedicated web server.
While Nginx is highly popular for modern Node.js setups, Apache HTTP Server remains an incredibly powerful, rock-solid alternative. If you are already running an Apache server (perhaps for a PHP/WordPress site) or simply prefer its ecosystem and .htaccess flexibility, you can easily configure Apache to serve as a reverse proxy for your Node.js application.
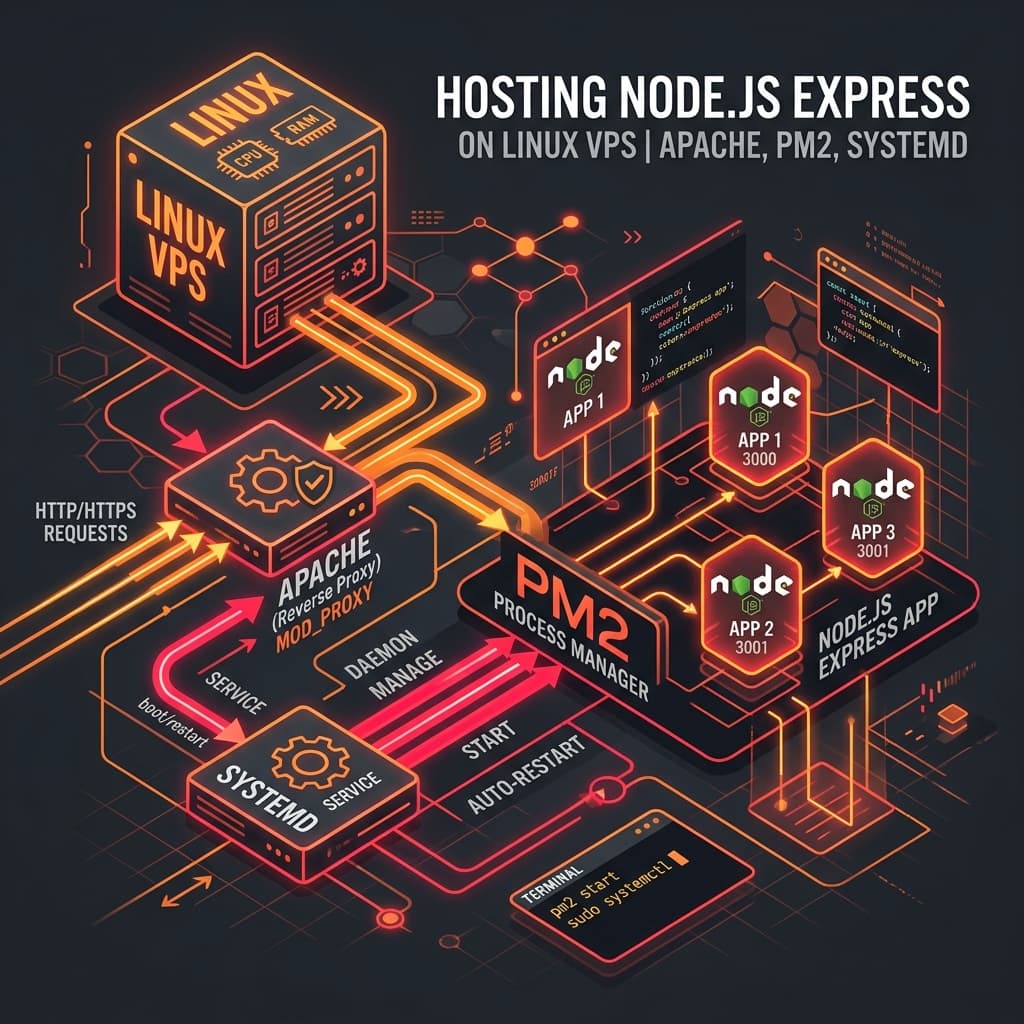
In this guide, I will walk you through the end-to-end process of deploying a Node.js Express app on a Ubuntu VPS. We will cover process management using both PM2 and native Systemd, and configure Apache to securely route traffic to your application.
Prerequisites
Before we begin, ensure you have:
- A Linux VPS (Ubuntu 22.04 LTS or 24.04 LTS recommended).
- SSH access to your server.
- Node.js and npm installed on your server.
- A registered domain name pointing to your server's public IP address.
Step 1: Set Up Your Express Application
First, connect to your server via SSH:
ssh your-username@your-server-ip
Create a directory for your application in the standard web root /var/www/:
sudo mkdir -p /var/www/my-express-app
sudo chown -R $USER:$USER /var/www/my-express-app
cd /var/www/my-express-app
Let's initialize a basic Express application. (If you have an existing app, you can clone it here instead).
npm init -y
npm install express
Create a server.js file:
nano server.js
Paste the following simple Express server code:
const express = require('express');
const app = express();
const port = process.env.PORT || 3000;

app.get('/', (req, res) => {
  res.send('Hello from Express behind Apache!');
});

app.listen(port, () => {
  console.log(`App running on http://localhost:${port}`);
});
Save and exit.
Step 2: Process Management (Keep Your App Alive)
We need a mechanism to ensure your Node.js application restarts automatically if it crashes or if the server reboots. You have two primary options: PM2 or Systemd. Choose the one that fits your workflow.
Option A: Using PM2
PM2 is a robust, widely-used production process manager specifically built for Node.js.
- Install PM2 globally:
sudo npm install -g pm2
- Start your application:
pm2 start server.js --name "my-express-app"
- Enable PM2 on server boot:
Run the startup script generator:
pm2 startup
PM2 will output a specific command (looking something like sudo env PATH=$PATH:/usr/bin pm2 startup systemd -u your-username...). Copy and run that exact command in your terminal.
Finally, save the current PM2 process list:
pm2 save
Option B: Using Native Systemd
If you prefer to avoid global npm packages, you can create a native Linux Systemd service.
- Create the service file:
sudo nano /etc/systemd/system/my-express-app.service
- Add the following configuration: (Ensure you replace
your-usernamewith your actual Linux user).
[Unit]
Description=My Express App
After=network.target

[Service]
Environment=NODE_ENV=production
Environment=PORT=3000
Type=simple
User=your-username
WorkingDirectory=/var/www/my-express-app
ExecStart=/usr/bin/node server.js
Restart=on-failure
RestartSec=10

[Install]
WantedBy=multi-user.target
- Enable and start the service:
sudo systemctl daemon-reload
sudo systemctl start my-express-app
sudo systemctl enable my-express-app
Step 3: Install and Configure Apache as a Reverse Proxy
Your Express app is now running securely on port 3000. Next, we will configure Apache to listen on port 80 and forward incoming traffic to port 3000.
- Install Apache:
sudo apt update
sudo apt install apache2 -y
- Enable Required Apache Modules:
To act as a reverse proxy, Apache requires specific modules to be enabled. Run the following commands:
sudo a2enmod proxy
sudo a2enmod proxy_http
sudo a2enmod headers
Restart Apache to apply the new modules:
sudo systemctl restart apache2
- Create an Apache Virtual Host:
Create a new configuration file for your domain:
sudo nano /etc/apache2/sites-available/my-express-app.conf
Add the following configuration, making sure to replace example.com with your actual domain name:
<VirtualHost *:80>
    ServerName example.com
    ServerAlias www.example.com

    ProxyPreserveHost On
    ProxyPass / http://localhost:3000/
    ProxyPassReverse / http://localhost:3000/

    # Optional: Log files for this specific site
    ErrorLog ${APACHE_LOG_DIR}/my-express-app-error.log
    CustomLog ${APACHE_LOG_DIR}/my-express-app-access.log combined
</VirtualHost>
Understanding the Configuration:
ProxyPreserveHost Onensures that the originalHostheader sent by the client is passed to your Express app.ProxyPassandProxyPassReversemap the root URL (/) to your local Node.js server running on port3000.
- Enable the Virtual Host:
sudo a2ensite my-express-app.conf
- Test and Restart Apache:
Always verify your configuration syntax before restarting:
sudo apache2ctl configtest
If it says Syntax OK, restart Apache:
sudo systemctl restart apache2
If you visit http://example.com in your browser, you should see "Hello from Express behind Apache!".
Step 4: Secure the App with HTTPS (Let's Encrypt)
Serving traffic over HTTP is insecure. We will use Certbot to provision a free SSL certificate from Let's Encrypt and automatically configure Apache to use it.
- Install Certbot and the Apache Plugin:
sudo apt install certbot python3-certbot-apache -y
- Run Certbot:
sudo certbot --apache -d example.com -d www.example.com
Certbot will ask for an email address and prompt you to agree to the terms of service. It will then automatically locate your Virtual Host, provision the SSL certificate, and update your configuration to force HTTPS redirection.
- Verify Auto-Renewal:
Let's Encrypt certificates expire every 90 days. Certbot automatically adds a systemd timer to renew them. You can test this process by running:
sudo certbot renew --dry-run
Conclusion
By placing your Node.js Express application behind an Apache reverse proxy and using PM2 or Systemd for process management, you have created a highly reliable production environment.
Apache excels at handling complex routing, serving static assets, and managing SSL certificates, allowing your Node.js application to focus entirely on its core logic. This setup scales beautifully, allowing you to run multiple different Express apps on different ports, all securely proxied by a single Apache server.
